Skip to content
Just start

Your journey begins here

Table of contents

Overview of the program

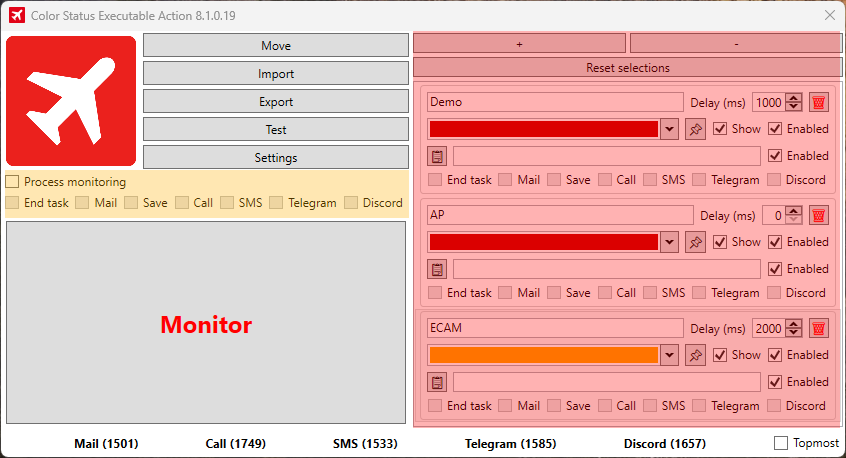
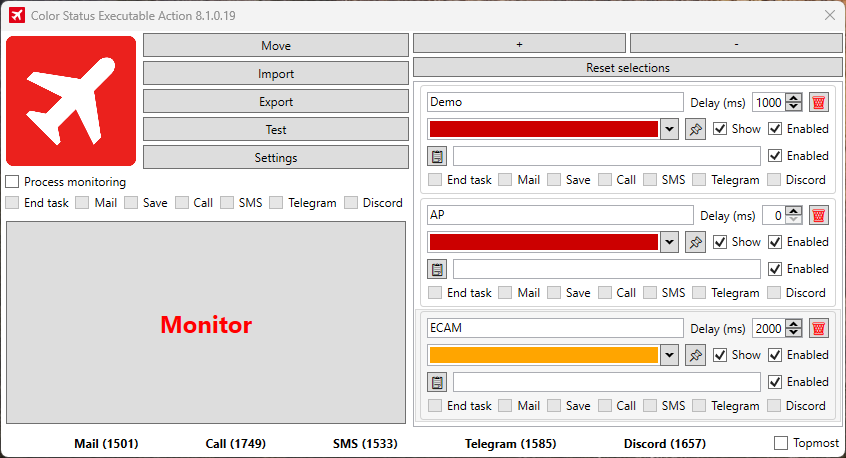
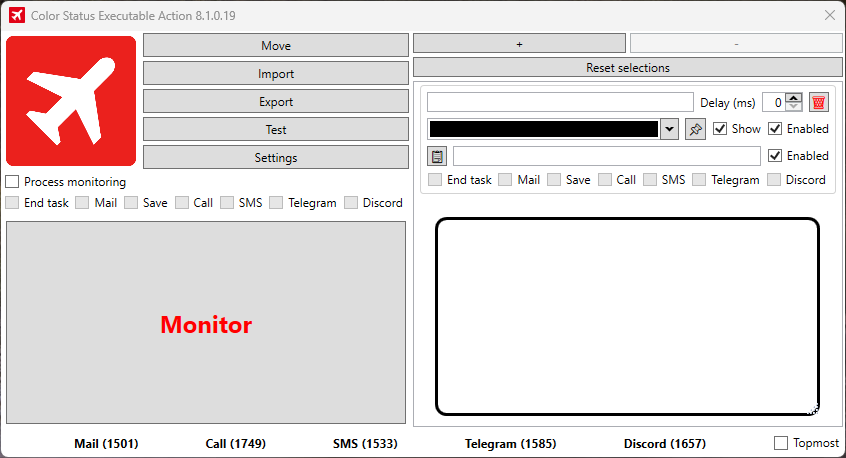
This is what a finished configuration could look like.
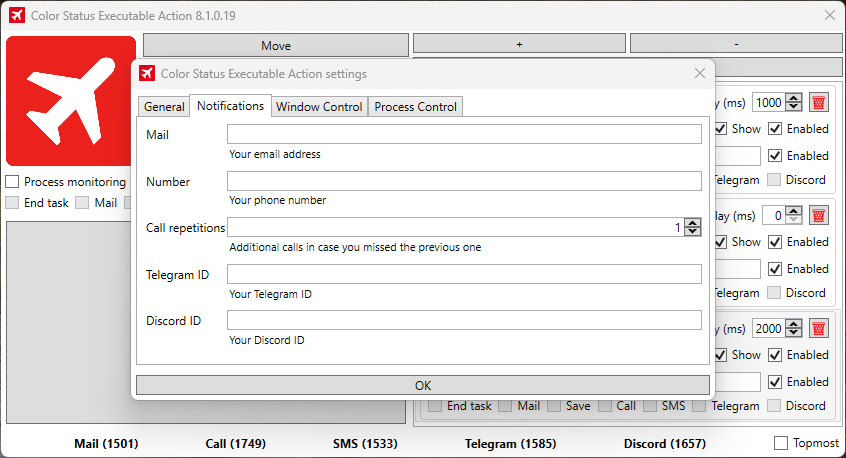
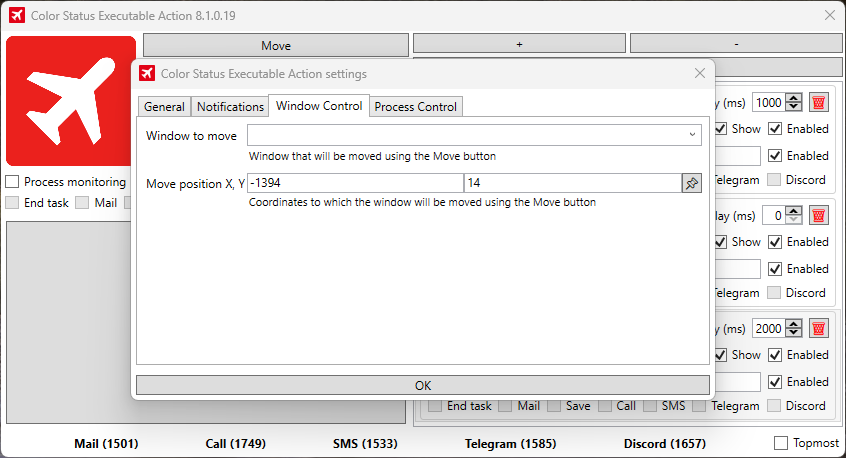
Settings

Click on Settings

Auto export

Specifies where automatically generated export files should be saved. You can select the destination folder using the button with the three dots.

Images

select the images (areas) to be saved

Save 

Location where screenshots are saved

Mail

Enter your email address here to receive email notifications. It’s free to use.

Number  (chargeable)

Here you can optionally enter a phone number to receive notifications by phone call.

Repeat call

Specifies how many times a call should be repeated. For example, „2“ repeats three times (one plus two repeats). Applies only when the call function is enabled.

Telegram ID

Enter your Telegram ID to receive notifications via a Telegram bot. Free to use – Telegram must be connected.

Discord ID

Here you can enter your Discord ID to receive notifications via Discord – for example, via our bot. Free to use

Window to move:

  • Window that will be moved using the Move button
  •  

Move position X, Y:

  • Coordinates to which the window will be moved using the Move button

Terminate process:

  • Process to be terminated when the End taskl option is active

Monitor process:

  • Process to be monitored when process monitoring is active

Installation & Registration

Download & install the software

To install the software, you must download the .zip file, unzip it and start the application.

Registration with key/ID

After starting the software, you must register it with us by sending us the generated key/ID of the application. So that we can activate you in the database

Prerequisite for participation

Joining the Discord server is required to participate:

🔗 http://discord.flight-sim-alerts.de/

 
Activation by e-mail

You can have yourself unlocked:

📄 via our activation form

Config of the Areas (Segments)

Step 1

Press + and an area will appear (left of the screen on top)

Step 2

Here in black, move the area as desired with the mouse or arrow keys.

Step 3

Give the area a name.

Step 4

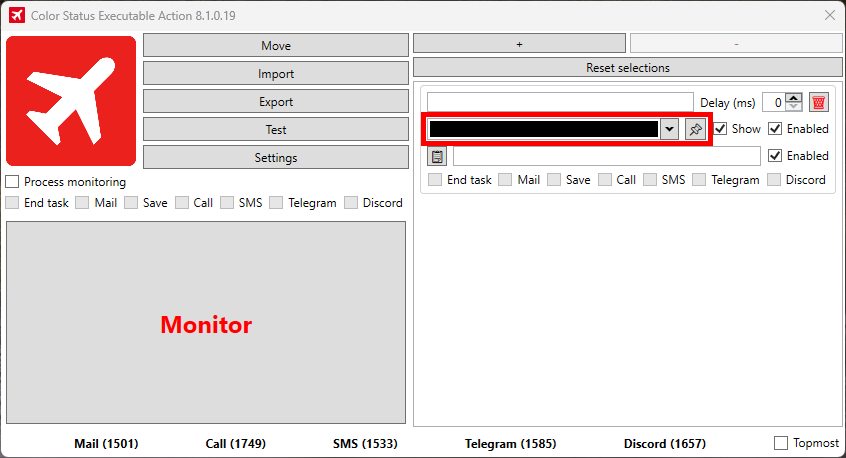
Select the color of the area here or use the pipette.

Step 5

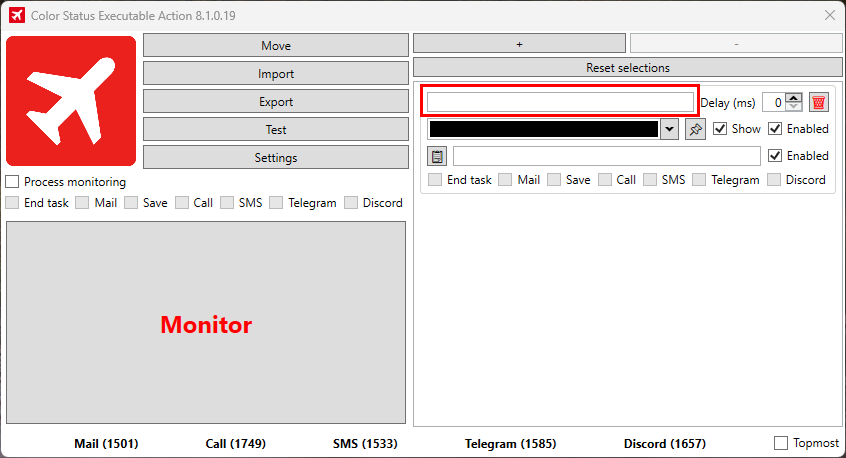
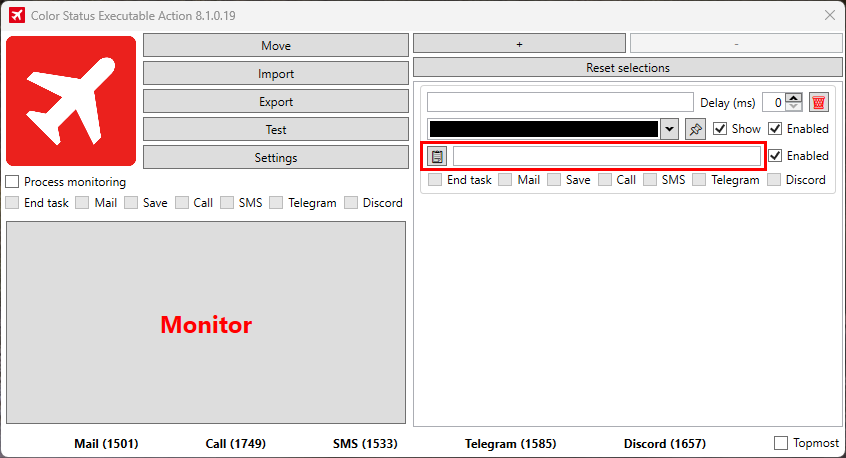
Here you can enter text that you want to be recognized (confirm with a semicolon). Use the left button to copy the recognized text.

Step 6

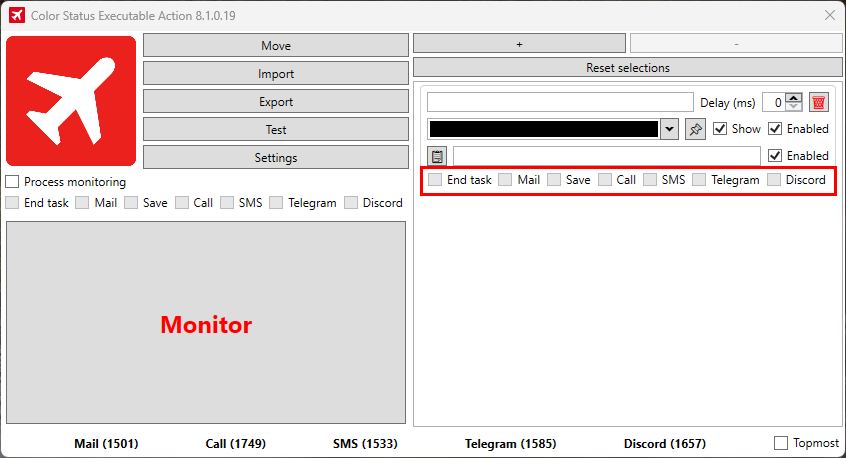
Select your actions: End task, Mail, Save, Call, SMS, Telegram, Discord see actions below.

Step 7

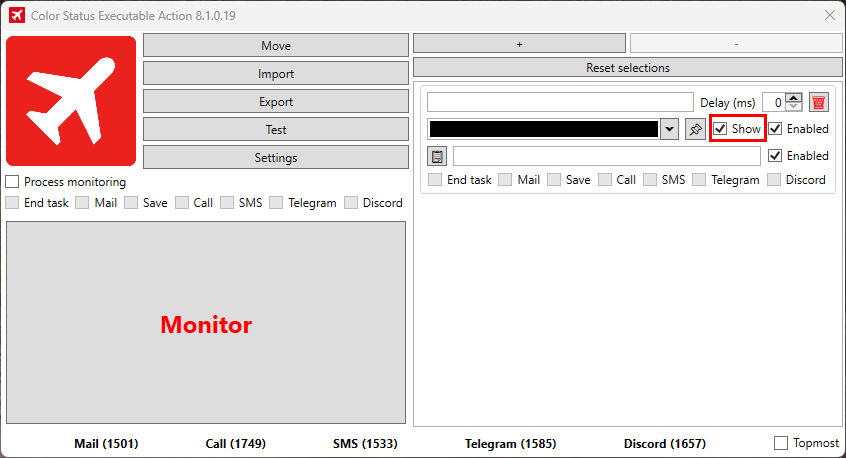
Here you can show and hide the sections

Step 8

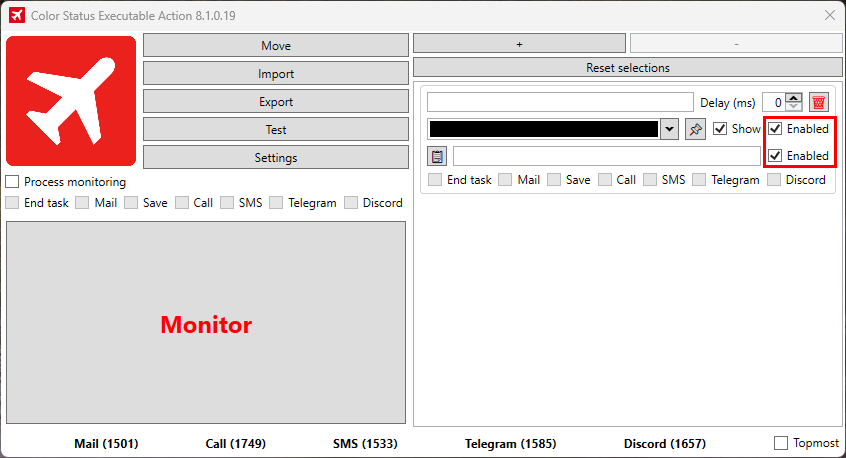
Activate text, recognition, and color detection.
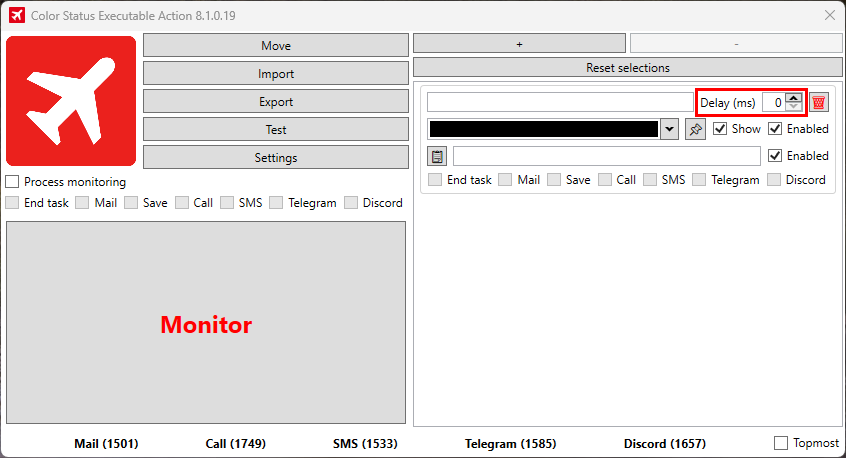
Step 9

Here you can set a delay (ms).
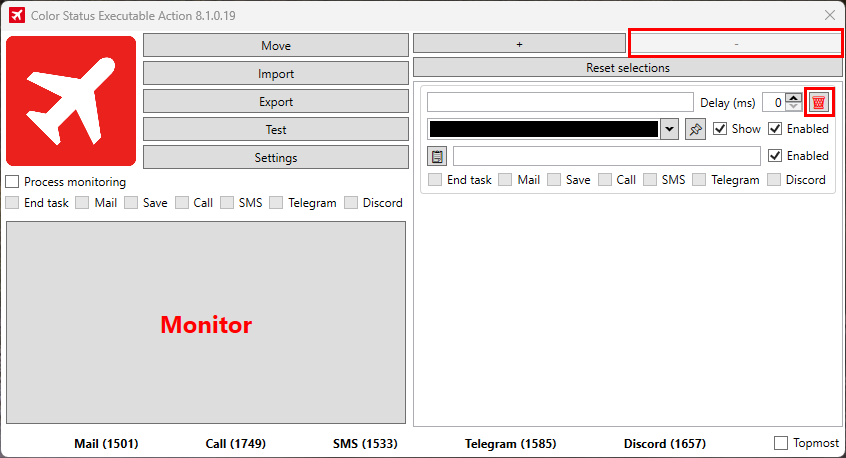
Step 10

Here you can delete the Areas

The configuration is now complete, click on “Monitor”

Actions that can be triggered

Delay
Waiting time before an action is executed. (free)
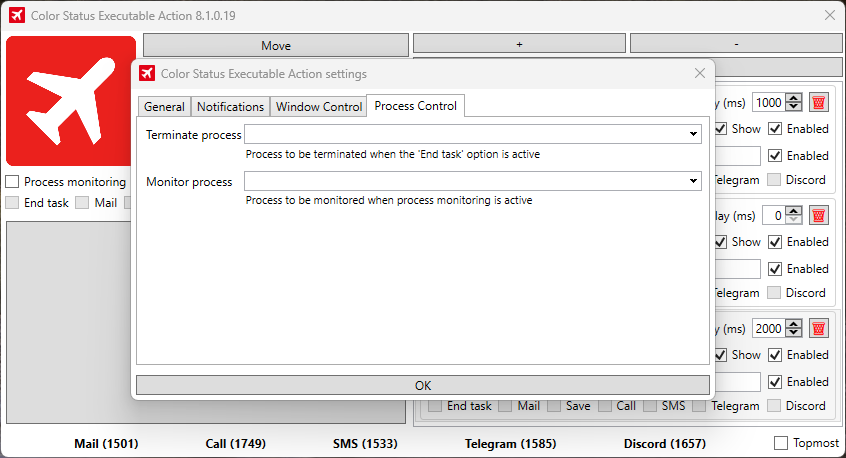
End task:
The selected .exe is automatically closed when the specified event is detected. Please select the appropriate setting. (free)

Mail:
An e-mail will be sent to the address you specified in the settings. ((free)

Call:
Calls the telephone number specified in the settings. (chargeable).

SMS:
Sends an SMS to the number specified in the settings (chargeable).

Telegram:
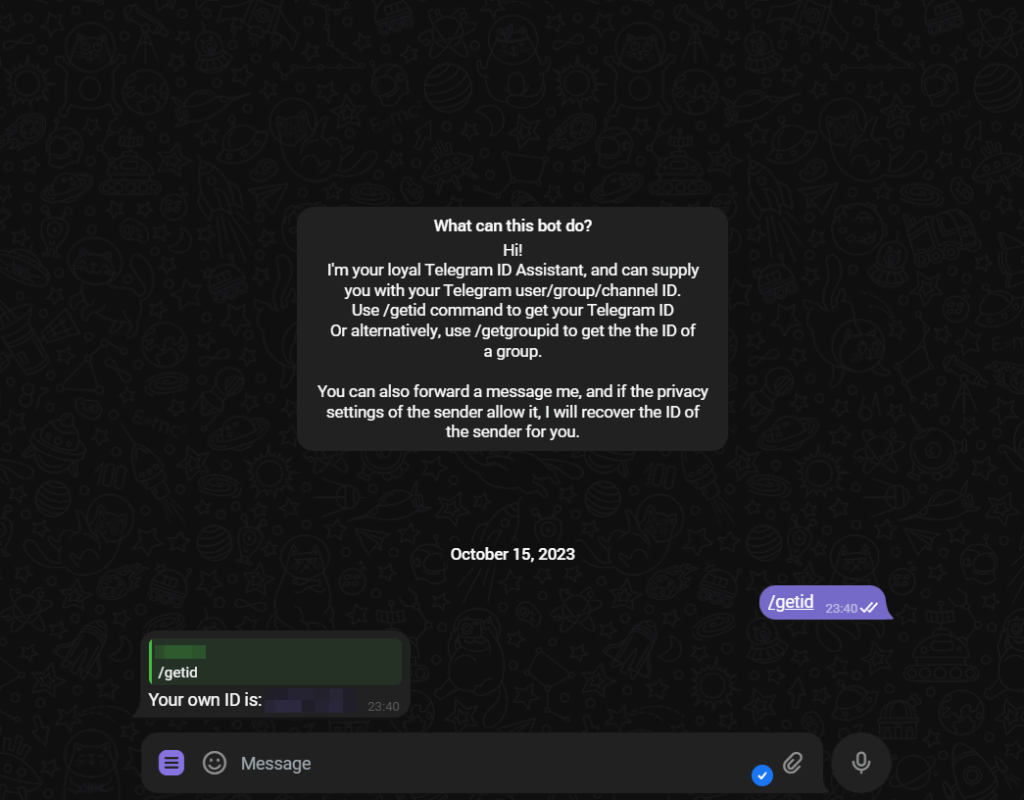
Sends a telegram message to the ID specified in the settings. (free)

Discord:
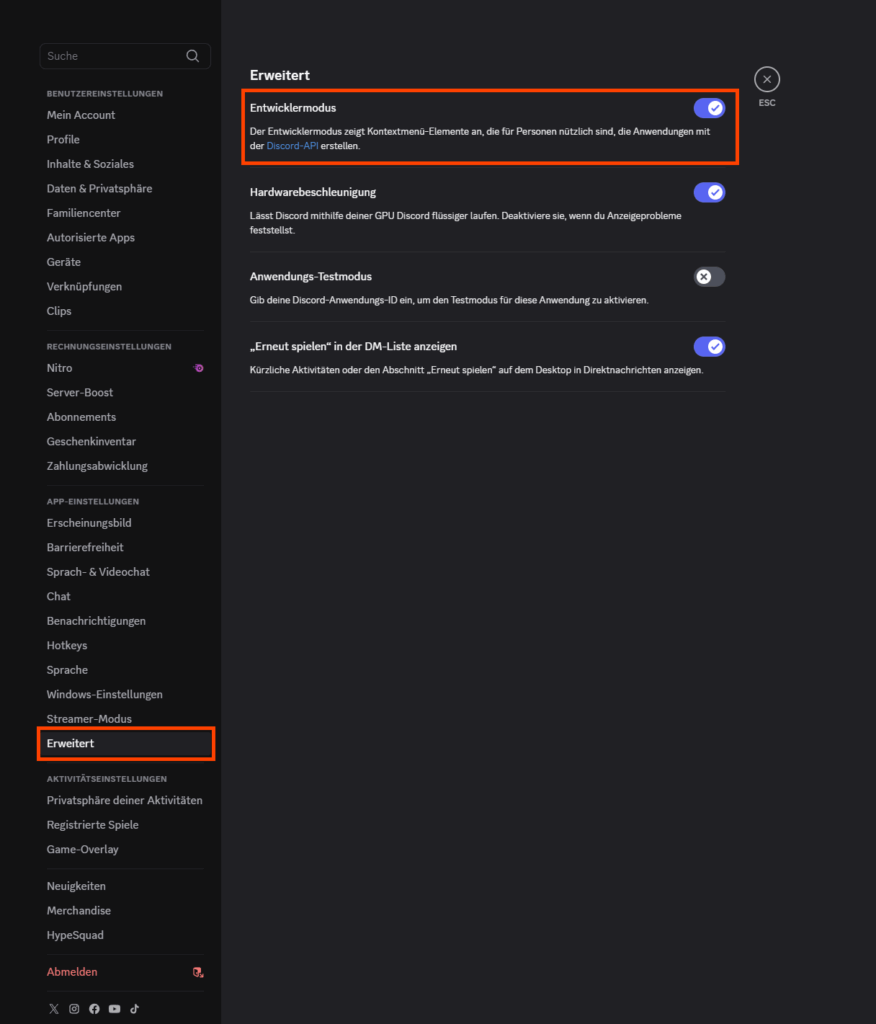
Sends a Discord message to the ID specified in the settings. (free)

Save:
This allows you to activate the function so that the images are saved. When a trigger occurs, you will know which area triggered it. (free)

Activate additional functions

To be able to use the Telegram function, you must first have a Telegram ID. You can get this by writing to the IDBot with the user name @myidbot by writing /getid in the chat.

→ Open Discord.

→ at the bottom left is your profile picture → then click on “User settingsto the right of it (gear wheel).

→ Go to “Advanced” in the left-hand menu.

→ Activate the developer mode.

→ Now: Click on your profile picture

→ At the bottom you will see “Copy user ID”.